Stripe Connect Setup
Connecting Stripe to your Hunhu agency allows you and your providers to accept payments, issue payouts, and manage billing directly through the platform. This article covers how to connect Stripe and understand your account status.
Accessing the Stripe Integration
- Log in to the Agency Portal and click Settings in the sidebar.
- Click the Integrations tab.
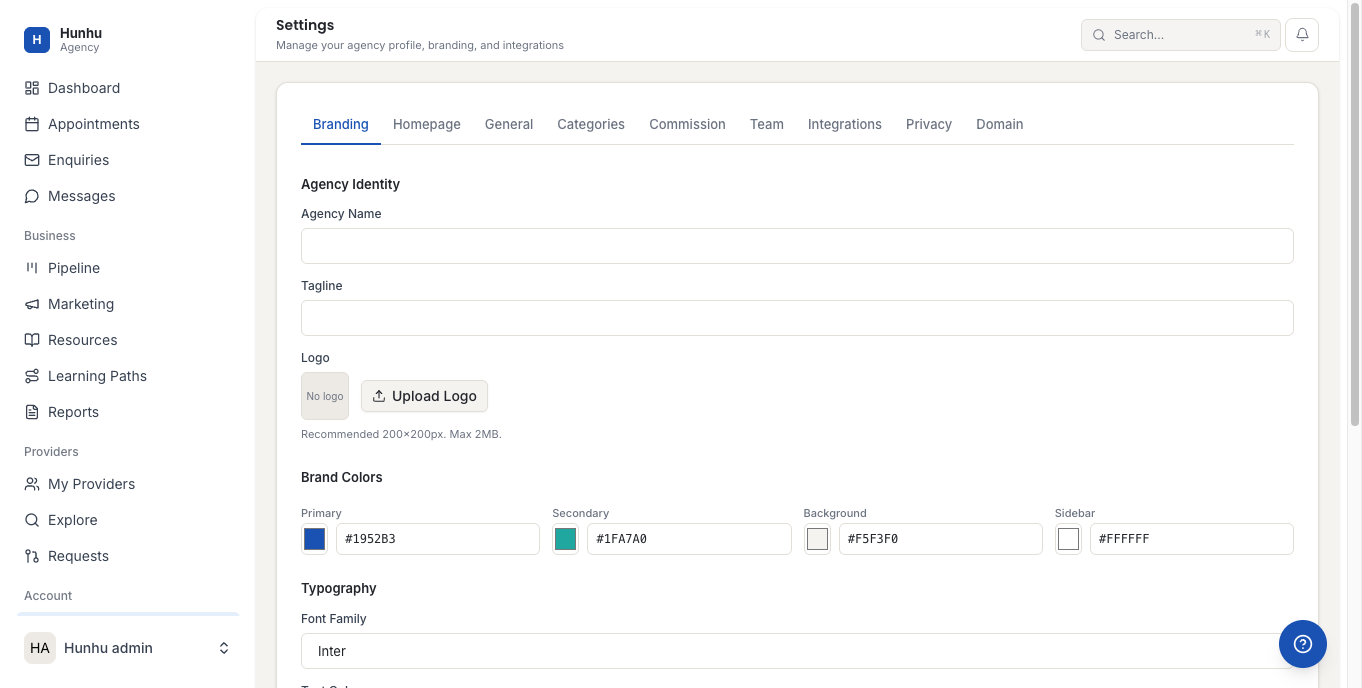
- Scroll to the Stripe section.
Connecting Stripe
- Click Connect with Stripe.
- You are redirected to Stripe's onboarding flow.
- Log in with an existing Stripe account or create a new one when prompted.
- Follow the Stripe onboarding steps to enter your business information:
- Business type (individual or company)
- Legal business name and address
- Tax identification (EIN or SSN depending on business type)
- Bank account for payouts
- A phone number for identity verification
- Once complete, Stripe redirects you back to the Hunhu Integrations page.
Understanding Your Stripe Status
After connecting, the Stripe section shows real-time status indicators for your account. There are three key statuses to monitor:
- Charges enabled - Your account can accept payments from clients. If this shows "disabled", Stripe requires more information before you can charge clients.
- Payouts enabled - Your account can receive payouts to your bank. If disabled, Stripe has not yet verified your bank account or identity.
- Details submitted - Stripe has received all required business information. "Incomplete" means there are fields still needed in your Stripe dashboard.
Completing Stripe Verification (If Required)
- If you see "X items need attention" next to your Stripe account, click the number to see what Stripe requires.
- You will be taken to your Stripe dashboard where each pending item is listed.
- Complete each required item. Common items include:
- Uploading a government-issued ID
- Confirming your business address
- Adding a bank account for payouts
- Agreeing to Stripe's terms of service
- Return to Hunhu after completing each item. The status indicators update automatically as Stripe verifies each piece of information.
Note: Stripe verification typically takes 1-2 business days for identity verification and 1-3 business days to enable payouts once your bank account is added.
Disconnecting Stripe
- In the Integrations tab, click Disconnect next to your Stripe account.
- Confirm the disconnection. All future payment processing will pause until a new Stripe account is connected.
- Existing completed transactions are not affected - those records remain in your Transactions history.
Common Issues
Charges disabled: This usually means Stripe's identity verification is not complete. Log in to dashboard.stripe.com, go to Settings > Account Details, and complete any outstanding verification steps.
Payouts disabled: Your bank account likely needs to be added or verified. Go to your Stripe dashboard > Settings > Bank Accounts to add or confirm your payout bank account.
"Connected but inactive": If Stripe is connected but clients cannot pay, check that Charges are enabled AND that your Stripe account is not restricted due to a policy violation or high dispute rate.
Still need help?
Our support team is here for you. Send us a message and we'll get back to you within 48 hours.