Provider Profile Setup
Your provider profile is your professional identity on the platform. A complete, detailed profile helps clients find you, builds trust, and increases your booking rate. This article covers every field available in Settings.
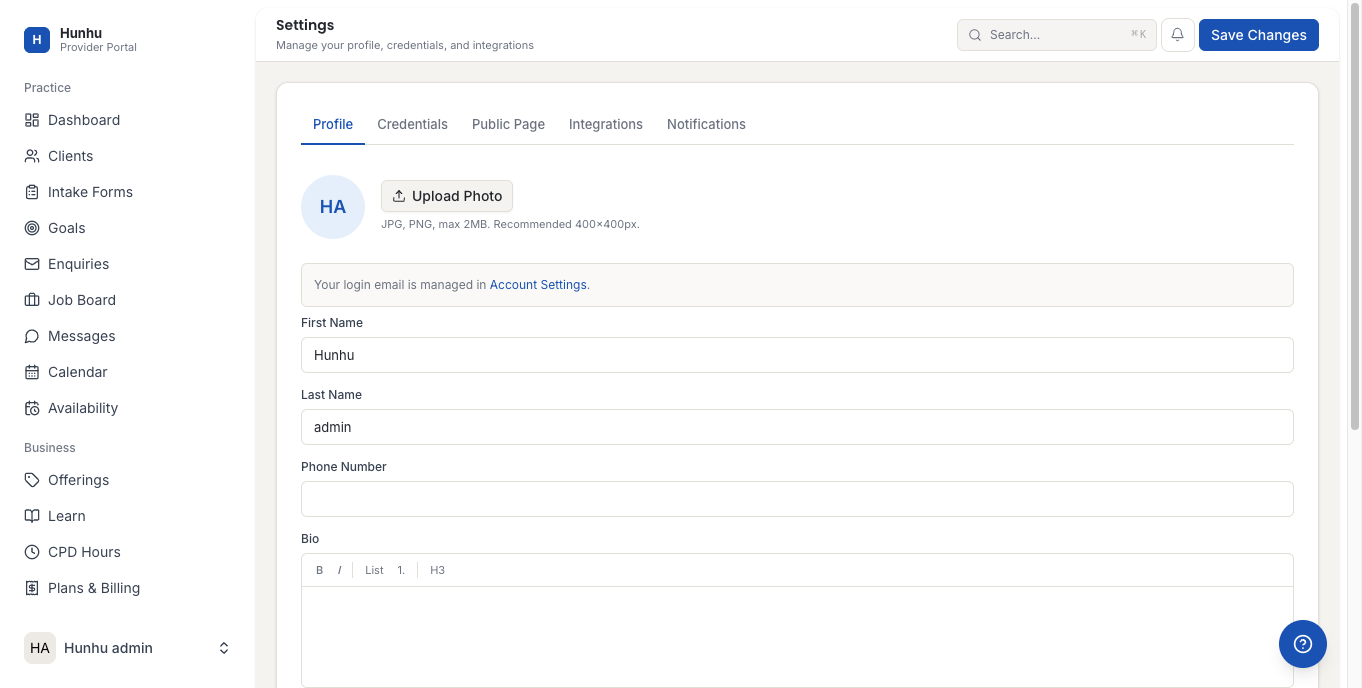
Opening Profile Settings
- Log in to the Provider Portal.
- Click Settings in the left sidebar.
- The Profile tab is selected by default.

Basic Information
- Enter your First Name and Last Name exactly as you want them displayed on your public profile and booking confirmations.
- Enter your Email Address. This is used for platform notifications and client communications.
- Enter your Phone Number (optional). Only visible to clients you have accepted, not on your public profile.
- Set your Timezone from the dropdown. This is critical — it controls how your availability displays to clients booking across different time zones.
Professional Bio
- In the Bio field, write a professional summary of your practice.
- A strong bio includes:
- Your specialization and the types of clients you work with
- Your approach or methodology
- Years of experience
- Any notable achievements or training background
- Aim for 100-300 words. Clients read the bio before deciding whether to send an enquiry or book.
Profile Photo
- Under Profile Photo, click Upload Photo.
- Select an image file. Supported formats: JPG, PNG, WEBP.
- Requirements:
- Minimum size: 300 x 300 pixels
- Maximum file size: 5 MB
- Square or portrait orientation works best
- The photo appears on your public directory listing. Use a professional headshot with good lighting.
Specialties and Tags
- Under Specialties, type and add the specific areas of expertise you offer.
- Add up to 10 specialty tags. Examples: Leadership Coaching, Career Transitions, Executive Development, Mindfulness, Conflict Resolution.
- These tags are used by the platform's search and filtering to match clients with relevant providers.
Location
- Under Location, enter your city and country.
- If you work exclusively virtually, you can leave location blank or mark yourself as "Remote Only".
- Location is shown on your public profile to help clients understand your geographic coverage.
Credentials Tab
- Click the Credentials tab.
- Click Add Credential to add a certification, license, or professional membership.
- For each credential, enter:
- Credential name (e.g., ICF PCC, Licensed Clinical Social Worker)
- Issuing organization (e.g., International Coaching Federation)
- Year earned
- Expiry date (if applicable)
- Verified credentials display a badge on your public profile, increasing client confidence.
- Add all relevant credentials. Clients and agencies can see the full list.
Public Page Tab
- Click the Public Page tab.

- Configure what appears on your public-facing profile page:
- Toggle whether your contact information is visible publicly
- Toggle whether your session rates are displayed
- Set your profile status to Active (accepting new clients) or Inactive (not taking new enquiries)
- Add links to external resources like your personal website or LinkedIn profile
- Click Save to apply any changes.
- Click View Public Profile (if available) to see exactly how your listing appears to clients and agencies.
Notifications Tab
- Click the Notifications tab.

- Toggle which notifications you receive via email and/or in-app:
- New appointment booked
- Appointment cancellations
- New enquiry received
- New message received
- Payment received
- Dispute opened
- Click Save.
Saving Your Profile
- After making changes to any tab, click Save Changes.
- Changes to the Profile and Public Page tabs are reflected on your public listing immediately after saving.
Tip: A complete profile (photo + bio + credentials + specialties) is significantly more likely to receive enquiries than a partially filled-in profile. The platform may prompt you to complete missing sections.
Was this helpful?
Still need help?
Our support team is here for you. Send us a message and we'll get back to you within 48 hours.