Provider Availability Setup
Your availability schedule controls when clients can book appointments with you. Setting accurate availability ensures clients only see times you are genuinely free, and prevents double-bookings if you have connected Google Calendar.
Opening Availability Settings
- Log in to the Provider Portal.
- Click Availability in the left sidebar.
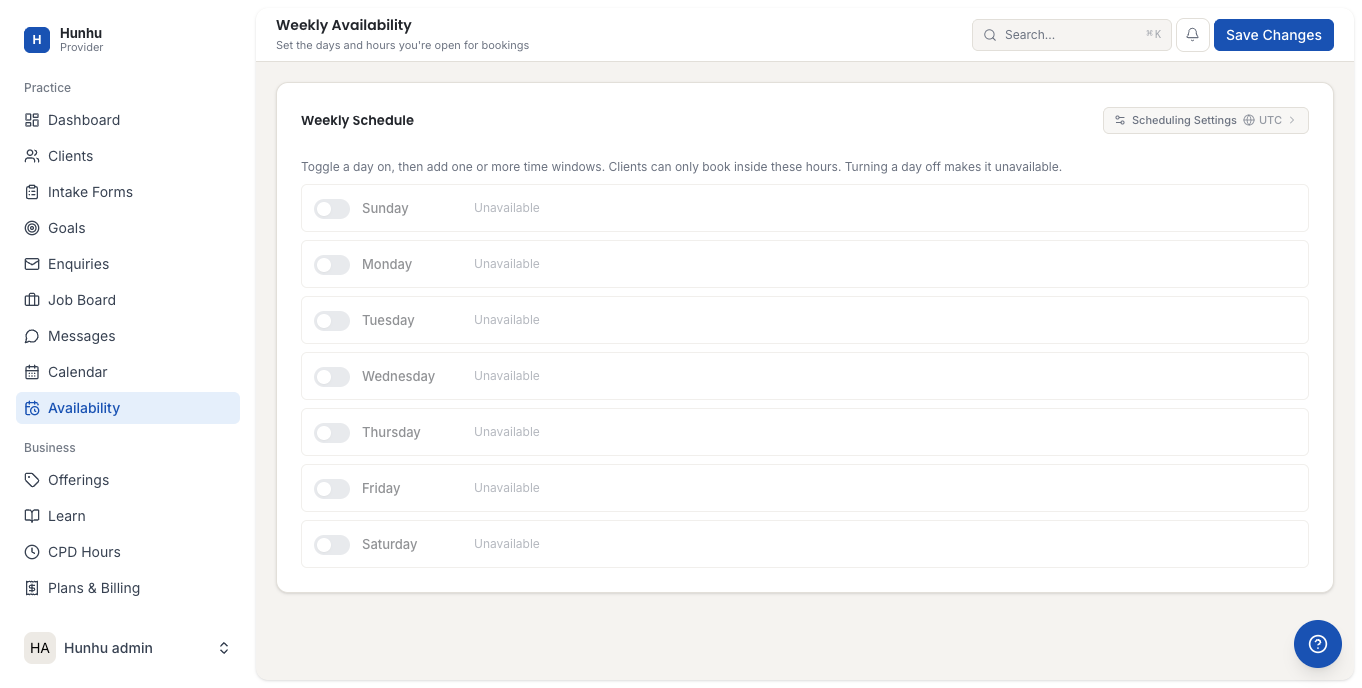
Setting Your Weekly Schedule
The weekly schedule is your default recurring availability. Times set here repeat every week unless overridden by a specific date block.
- You see a grid of all seven days of the week.
- For each day you are available, toggle the day on.
- Click Add Time Slot under a day to set the hours you are available.
- For each time slot, enter:
- Start time (e.g., 9:00 AM)
- End time (e.g., 5:00 PM)
- Add multiple time slots per day if needed (e.g., 9 AM-12 PM and 2 PM-5 PM with a lunch break in between).
- Repeat for each day you work.
- Toggle off any day you never work (e.g., if you don't work Sundays, keep Sunday toggled off).
Note: All times are shown and stored in the timezone you set in your Profile settings. If you work across time zones, confirm your profile timezone is set correctly before configuring availability.
Blocking Specific Dates
Use date-specific blocks to mark individual days as unavailable — for example, a vacation, holiday, or a day you have other commitments.
- Find the Date Overrides or Block Dates section (below the weekly grid).
- Click Add Date Block or Block a Date.
- Select the date (or date range) using the calendar picker.
- Optionally add a note for your records (not visible to clients).
- Click Save.
- The blocked dates override your normal weekly schedule — clients will not be able to book during those dates.
Setting a Booking Buffer
A buffer adds time between appointments so you have a break between sessions.
- Look for the Buffer Time setting in the availability panel.
- Select the buffer duration (e.g., 15 minutes, 30 minutes).
- When a buffer is set, the platform automatically blocks the selected time after each appointment. A 60-minute session at 10 AM with a 15-minute buffer means the next available slot starts at 11:15 AM, not 11:00 AM.
Setting Minimum Advance Booking Time
- Find the Minimum Notice or Advance Booking setting.
- Set the minimum amount of notice you require before a client can book (e.g., 24 hours, 48 hours).
- This prevents last-minute bookings you might not see in time to prepare for.
Setting a Booking Window
- Find the Booking Window or How far in advance setting.
- Choose how far into the future clients can book (e.g., 30 days, 60 days, 90 days).
- This prevents clients from booking many months out and helps you manage your schedule predictably.
Saving Your Availability
- After configuring your schedule, click Save Availability.
- Your updated schedule is immediately reflected for clients browsing your public profile and booking page.
Checking Your Calendar View
- After saving, click Calendar in the sidebar to verify your availability looks correct.
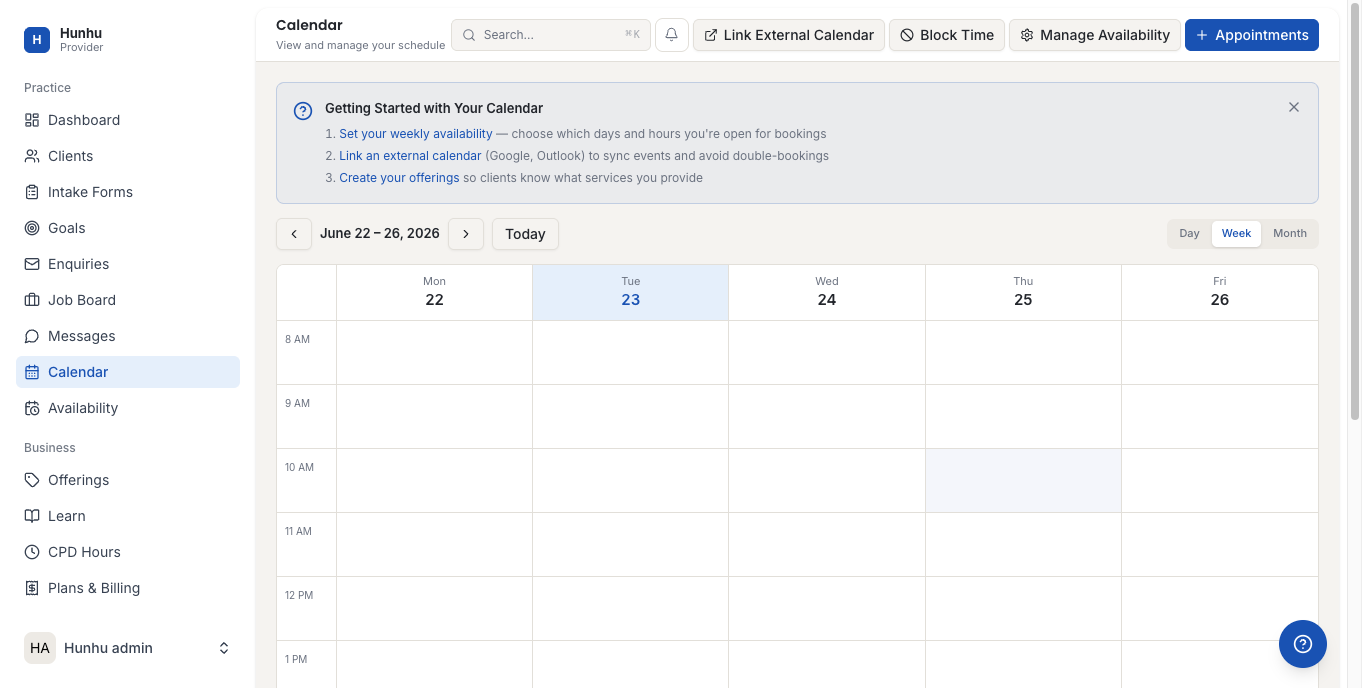
- Green (or highlighted) time blocks represent your available windows. Existing appointments appear on top.
Google Calendar Sync
If you connect Google Calendar (Settings > Integrations), your Google Calendar events are used to automatically block off time in your Hunhu availability. You only need to manage your schedule in one place.
See the Google Calendar Setup article for instructions on connecting your Google Calendar.
Still need help?
Our support team is here for you. Send us a message and we'll get back to you within 48 hours.