Managing Clients and Intake Forms
Your Clients section is the central hub for tracking and managing everyone you work with. Intake Forms let you collect the information you need from new clients before their first session. This article covers both.
Viewing Your Client List
- Log in to the Provider Portal and click Clients in the left sidebar.
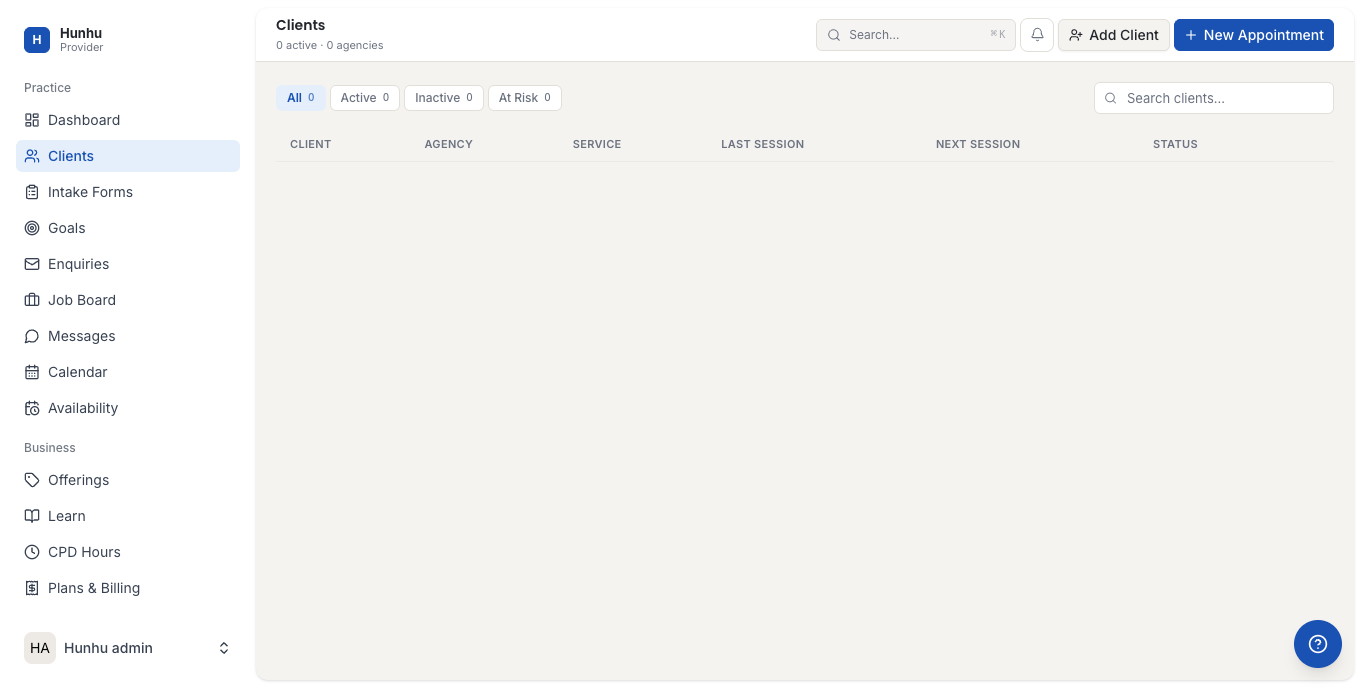
- The client list shows all your current and past clients with:
- Client name and profile photo
- Email address
- Last session date
- Client status (Active / Inactive)
- Total sessions completed
- Use the search bar to find a specific client by name or email.
- Filter by status to see only active or inactive clients.
Viewing a Client's Profile
- Click any client's name to open their profile.
- The client profile shows:
- Contact details — email, phone (if provided)
- Session history — all past and upcoming appointments
- Intake forms — responses to any forms they have completed
- Goals — any goals set together
- Notes — private notes only visible to you
- From the client profile you can:
- Click Send Message to open a direct message thread
- Click Book Appointment to schedule a session on their behalf
- Click Add Note to record a private session note
Adding a Client Manually
- On the Clients page, click Add Client or Invite Client.
- Enter the client's email address and name.
- Optionally assign an intake form to be sent immediately upon invitation.
- Click Send Invitation. The client receives an email with a link to create their account and book their first session.
Creating an Intake Form
- Click Intake Forms in the left sidebar.
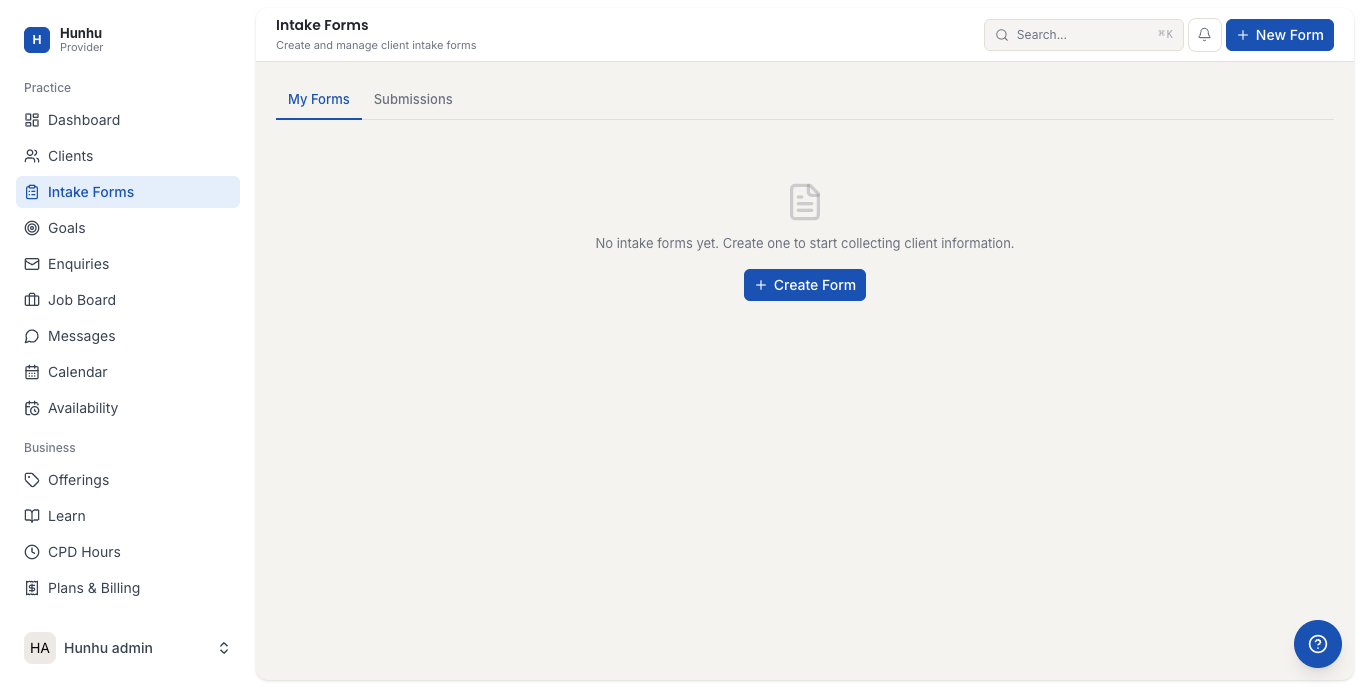
- Click Create Form or New Form.
- Give the form a name (e.g., "New Client Intake", "Pre-Session Questionnaire").
- Add questions to the form using the question builder:
- Short text — single-line answer
- Long text — paragraph answer (ideal for "Tell me about your goals")
- Multiple choice — select one option
- Checkboxes — select multiple options
- Dropdown — select from a list
- Date — calendar picker
- Mark questions as Required if clients must answer them before submitting.
- Drag questions to reorder them using the drag handle.
- Click Save Form when done.
Assigning Intake Forms to New Clients
- On the Intake Forms page, find the form you want to assign.
- Toggle Auto-send to new clients if you want this form sent automatically whenever a new client books with you.
- To send a form to a specific existing client: open the client's profile, find the Intake Forms section, and click Send Form, then select the form to send.
- The client receives an email with a link to complete the form. You see a notification when they submit it.
Viewing Intake Form Responses
- Open the relevant client's profile by clicking their name in the Clients list.
- Scroll to the Intake Forms section on their profile.
- Click View Responses next to a completed form to see their answers.
- Responses are saved permanently in the client's profile for future reference.
Editing an Intake Form
- Go to the Intake Forms page.
- Click Edit next to the form you want to change.
- Make your changes and click Save Form.
Note: Editing a form does not change responses that have already been submitted. Existing completed responses retain the questions and answers as they were at the time of submission.
Archiving or Deleting a Form
- On the Intake Forms page, click the ... (more options) menu next to the form.
- Select Archive to hide the form from the active list (past responses are retained).
- Select Delete to permanently remove the form and all its responses. This cannot be undone.
Was this helpful?
Still need help?
Our support team is here for you. Send us a message and we'll get back to you within 48 hours.